
I'm sorry I've been gone so long. Here's the deal - it's not something we are keeping a secret, but we haven't made a big deal of it either - we bought a house. In the summer of 2010. Near my family. We spent several months working on it during the weekends (painting and such). The hubs is still finishing up school, so Sam and I have been living up at the new house since February, and we see hubs on the weekends. It's not ideal by any means, but it's what we've had to do for right now. Hopefully soon, hubs will be all finished, and we'll all be together again, but until then, I am DIYing by myself, with no internet and no satellite/cable at the new house. So that's why I dropped off the face of the earth this summer . . . and why posts will be very infrequent for a few more months. But don't worry, I am not quitting blogging; it's just a hiatus while I deal with bigger things in life.
With all that said, here are some projects I finished in 2011 - this summer and fall.
DIY welcome mat - spray paint and painters tape made a plain mat custom.

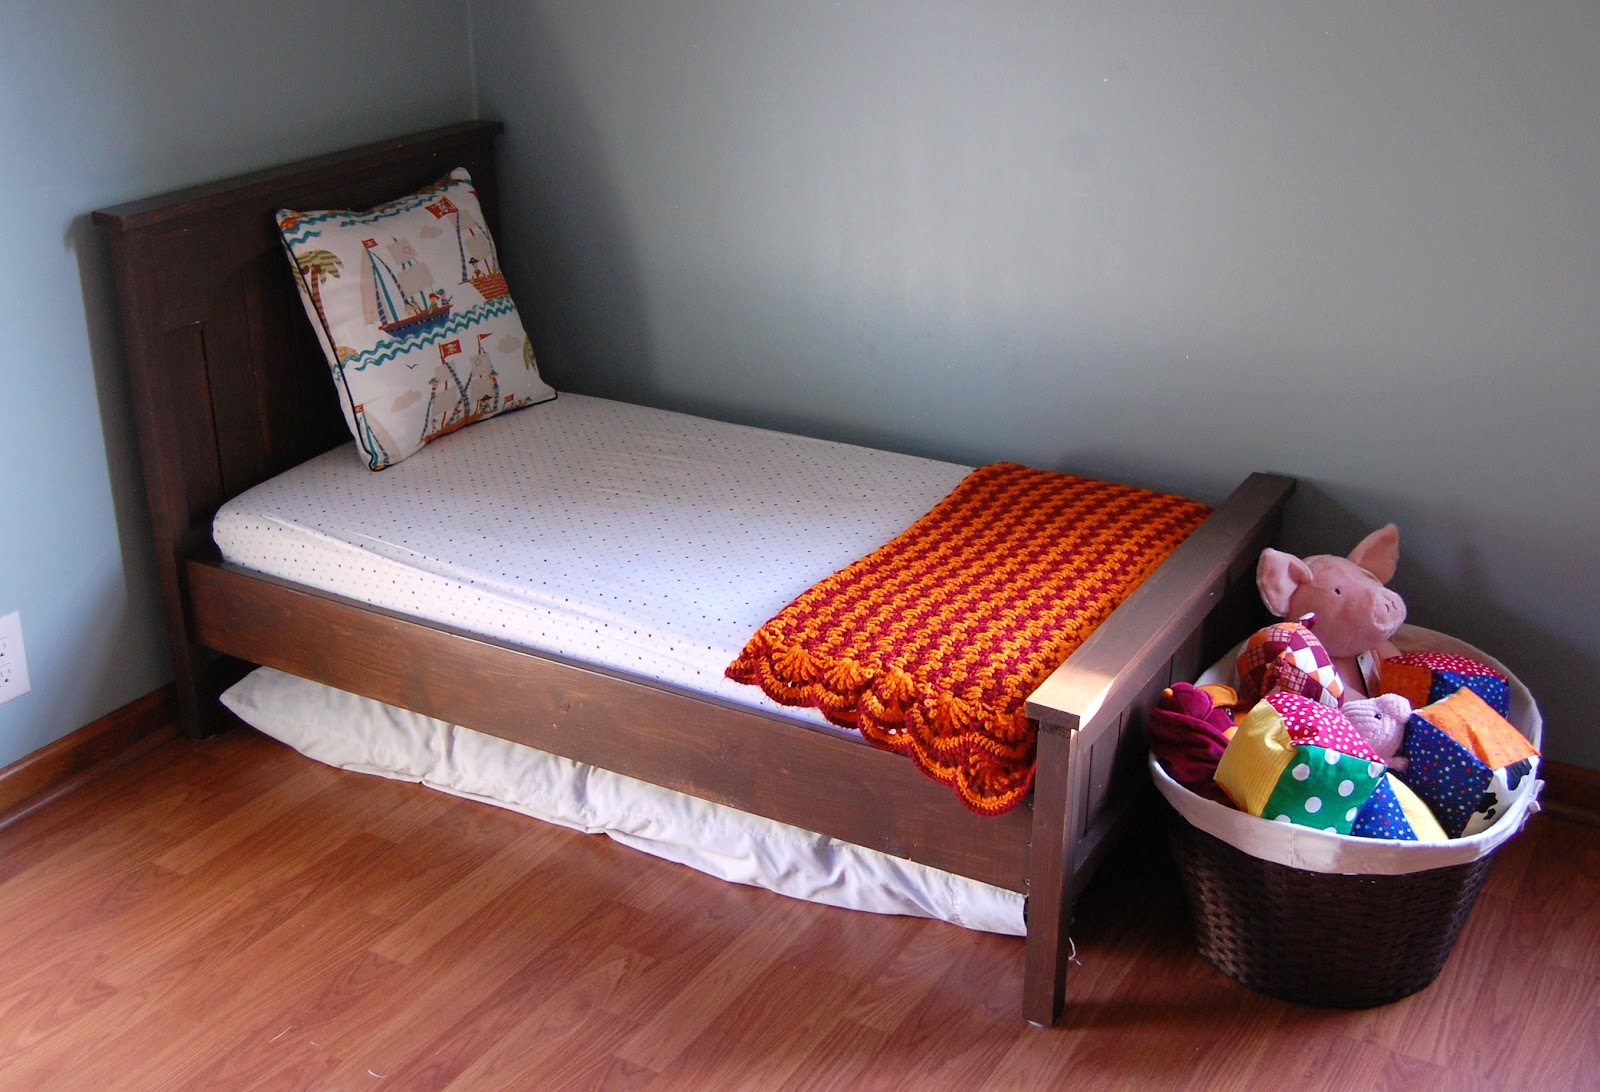
Sam's Bed - from the Ana White Farmhouse Toddler Bed plans (and made him a Thomas and Friends sheet from fabric he saw at the quilt shop)


A cutie skirt for a cousin - from the Riley Blake "It's a Cinch" Skirt tutorial

Drop cloth picture frame mat for a revamped Goodwill frame

In October I finally found a spot for my tobacco basket (don't mind the rest of the room; there are big changes coming there)

We celebrated Sam's second birthday with a loose Cars theme

I built some shelves to house Sam's toy baskets (Ana White - Grace's Shelves), but I used 1x4s and 1x3s for the sides and a project panel for the top instead of MDF or plywood.


I made a knock-off of Pottery Barn's Dinosaur Artwork for Sam's room - I'll have to do an easy tutorial for that one later.

Made several pillows, but forgot to take pictures of half of them

Copied a Pinterest idea and made an ornament wreath

Baby Quilt #1 - Ruby's quilt. For quilting I just followed the designs in the fabric. This is one I had the fabric and idea for a long time ago and was just waiting on the right time.


Baby Quilt #2 - a Swoon baby quilt. The quilting is double crosshatching on the diagonal, and it's perfect for this quilt.


Our Stocking Hanger - made from pallet boards. I absolutely love how this turned out.


Barbie clothes - I used patterns, but the fit was all over the board. It seems no two Barbies are the same measurements anymore.

American Girl/18" doll clothes - It's amazing how much easier these are to make when compared to Barbie clothes. I made the sweater from a thrift store sweater, just laid out the pattern pieces and made sure to zig-zag all the edges well.


And enjoyed Christmas.


I just yesterday picked my clamshell quilt back up after a lengthy break and have started on the 12th row.
Now I'm ready for the New Year. I have plans to be super thrifty and tight and work on finishing up all the half-done and neglected projects lurking around my house - quilting, crafting, decor, and others. I'm currently working on refinishing our stairs, which had carpet on them until last fall, and have just been waiting since then for their makeover.
I'm hoping for wonderful things in 2012!
With all that said, here are some projects I finished in 2011 - this summer and fall.
DIY welcome mat - spray paint and painters tape made a plain mat custom.

Sam's Bed - from the Ana White Farmhouse Toddler Bed plans (and made him a Thomas and Friends sheet from fabric he saw at the quilt shop)

A cutie skirt for a cousin - from the Riley Blake "It's a Cinch" Skirt tutorial

Drop cloth picture frame mat for a revamped Goodwill frame

In October I finally found a spot for my tobacco basket (don't mind the rest of the room; there are big changes coming there)

We celebrated Sam's second birthday with a loose Cars theme

I built some shelves to house Sam's toy baskets (Ana White - Grace's Shelves), but I used 1x4s and 1x3s for the sides and a project panel for the top instead of MDF or plywood.


I made a knock-off of Pottery Barn's Dinosaur Artwork for Sam's room - I'll have to do an easy tutorial for that one later.

Made several pillows, but forgot to take pictures of half of them

Copied a Pinterest idea and made an ornament wreath

Baby Quilt #1 - Ruby's quilt. For quilting I just followed the designs in the fabric. This is one I had the fabric and idea for a long time ago and was just waiting on the right time.


Baby Quilt #2 - a Swoon baby quilt. The quilting is double crosshatching on the diagonal, and it's perfect for this quilt.


Our Stocking Hanger - made from pallet boards. I absolutely love how this turned out.


Barbie clothes - I used patterns, but the fit was all over the board. It seems no two Barbies are the same measurements anymore.

American Girl/18" doll clothes - It's amazing how much easier these are to make when compared to Barbie clothes. I made the sweater from a thrift store sweater, just laid out the pattern pieces and made sure to zig-zag all the edges well.


And enjoyed Christmas.


I just yesterday picked my clamshell quilt back up after a lengthy break and have started on the 12th row.
Now I'm ready for the New Year. I have plans to be super thrifty and tight and work on finishing up all the half-done and neglected projects lurking around my house - quilting, crafting, decor, and others. I'm currently working on refinishing our stairs, which had carpet on them until last fall, and have just been waiting since then for their makeover.
I'm hoping for wonderful things in 2012!


